Your Complete Cleaning Checklist for a Fall Refresh

We’ve all heard of spring cleaning, but what about a fall refresh? As we look to the outdoors to see the leaves turn and begin to fall it signals that change is upon us. This change should also take place inside our homes. As soon as the weather begins to get cooler we know it won’t be long before we’re hosting guests for thanksgiving and holiday dinners. Rather than leaving all our cleaning to the last minute, the beginning of fall is the perfect time to start cleaning – a fall refresh. Now while it’s not possible to do all of your holiday cleaning in September, you can get a head start by tackling some of the larger ticket items in your home. This list is not meant to be a one day job, it might even take longer than a weekend!
Cleaning should be a daily occurrence, I’ve always found it practical to focus on a few items each day and this way I’m never left feeling overwhelmed. In this post we discuss a few key areas of your home to clean for your fall refresh, while also taking into consideration the best products to help you get the job done.

Wash Mattress Protector and Pillow Covers
Fall is the perfect time to change from summer to winter linens and swap out your light bedspreads for a heavier duvet. While making that change, be sure to wash your mattress protector and pillow covers. Always follow the directions on the label when you wash. As a safe measure, you can run a gentle cycle, cold water wash. I like to use Tide with a scoop of OxiClean that I add straight to the barrel of my front load washer. When drying, I choose to tumble dry on low heat with dryer balls which naturally help to reduce static and save on drying time.
Best Way to Keep It Clean? Sleep experts advise to wash your mattress protector every one to two months. Of course there are always exceptions to the rule, for example, a guest bedroom mattress protector may only need to a wash quarterly. If you suffer from allergies, try washing more frequently such as twice a month to prevent allergen buildup.
Clean Your Shower Head
The room we use to ‘get clean’ can often become the dirtiest room in our home if not properly cared for. Shower heads and panel towers constantly have water streaming through them and sitting on them which leads to numerous occurrences where dirt can build up. Think: dust, mold, and limescale. I personally give my shower head a good scrub and wipe down with white vinegar every time I clean my bathroom, but I know this isn’t on the top of everyones to do list.
If you’ve been neglecting your shower head, a new season is the perfect time to start fresh – literally and figuratively. Each shower head will vary in cleaning methods, but here’s my secret, white cleaning vinegar. I like to mix equal parts vinegar and water into a spray bottle and spray down my shower panel tower until it’s saturated. I let it sit for a few minutes and wipe it down from top to bottom. Those little white nozzles that have water streaming through them can also have dirt build up overtime. For that, use these nozzle pipe cleaners by dipping them into a vinegar and water solution and pushing it through each nozzle.
Best Way to Keep It Clean? Dry your shower head after each use.
Cleaning the Machines that Clean
The appliances that we use to clean our house get dirty! If you’ve noticed any type of odour coming from your appliances it’s time to clean them. Read on below for how to clean your appliances, and the best ways to prevent dirt build up in the future.
Washing Machine
Overtime, washing machines get dirty thanks to soap scum buildup and mineral deposits. Properly cleaning and caring for your washing machine is necessary in order to avoid things like smells, mold and grime. You’ll need two products, white cleaning vinegar and baking soda.
- Spray the inside of your barrel with white vinegar and wipe everything down.
- Pay special attention to the rubber gasket. Inside this seal you’re likely to find a buildup of scum, mildew, hair and more. This is the area where dirt accumulates, so don’t be surprised if this is dirty. Wipe it clean!
- If you find black mold, don’t panic. Make a paste using baking soda and bleach, and spread this over the affected areas. Cover with saran-wrap and let it sit for 2-4 hours. Remove the paste using water and wiping away with paper towels. Please take safety precautions when doing this, such as wearing gloves and protective eyewear.
- Pour vinegar into the detergent dispenser and run the longest, hottest cycle available on your washing machine.
- After that cycle finishes, you’ll add 1/2 cup baking soda directly to the barrel of your front load washer. Run another cycle and again you’ll be choosing the longest and hottest cycle available.
- The final step is to wipe down the outer portion of your washing machine. I like to pour a bit of vinegar onto paper towel and wipe everything down.
Best Way to Keep It Clean? There are two things I like to do in order to keep my washing machine in tip top shape. Firstly, I use powder washing detergent; add this directly to the barrel when washing clothes. Secondly, I always leave the door ajar to allow the machine to dry out and prevent odours, mold and grime.
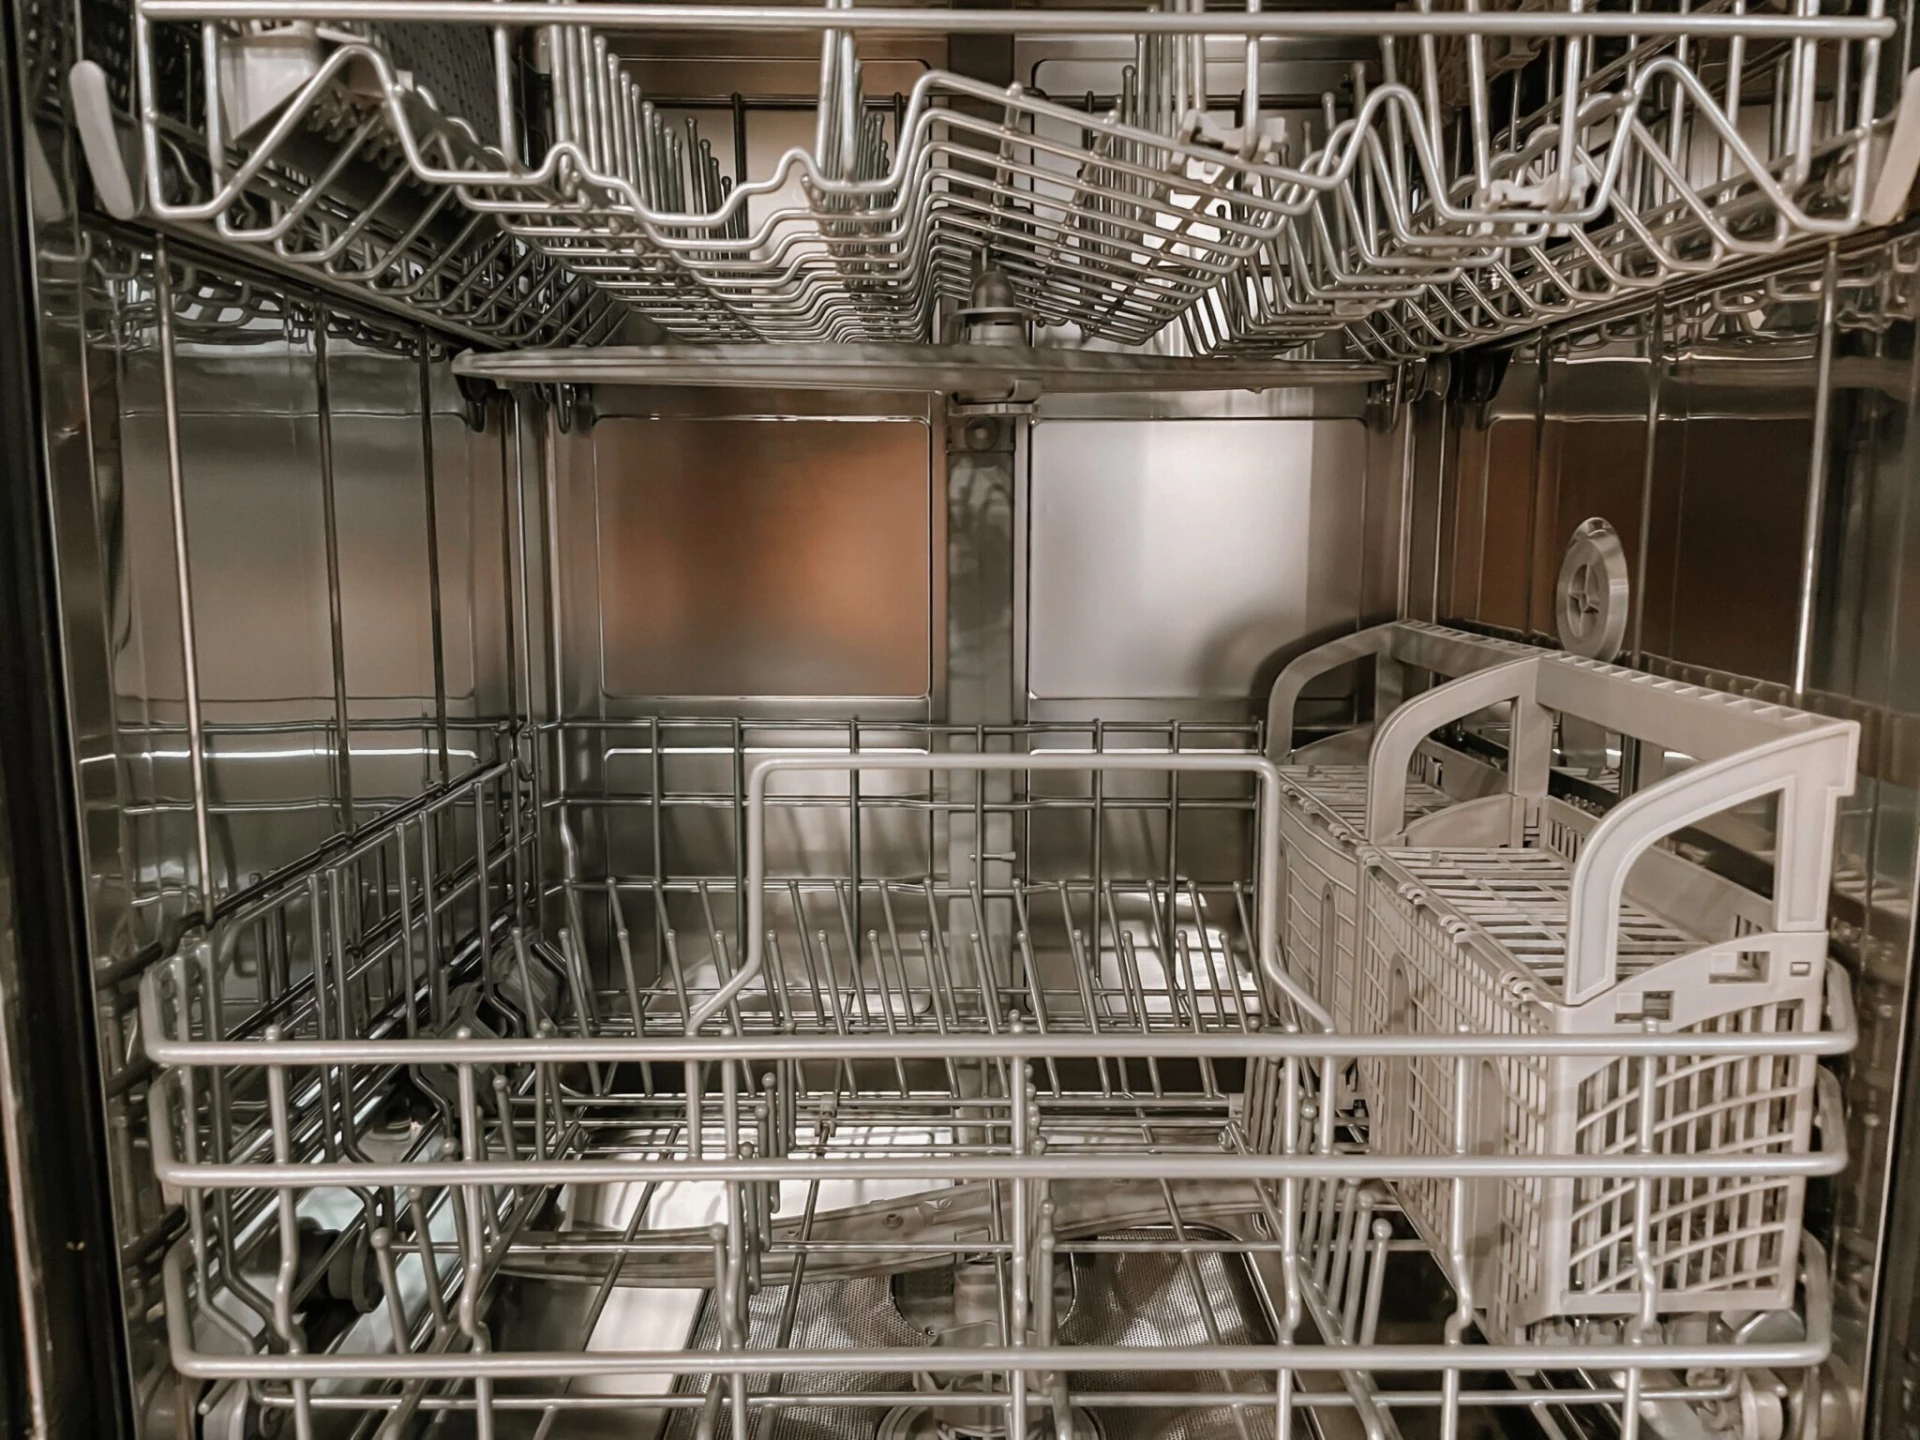
Dishwasher
There’s a good chance that you’ve never cleaned your dishwasher. If you haven’t, don’t worry I won’t tell, but it’s gross and I’m happy you’re here. It’s easy to clean your dishwasher, and this is one item I really don’t mind working on since it’s a quick fix. Like Always check the user manual for proper care and instructions. Here are the steps that I follow:
- Remove the filter and wash with water and bleach. After this I replace the filer back into my dishwasher.
- Wash the hinges with water and bleach using a microfiber cloth.
- Pour 1/2 cup of bleach into the dishwasher and run a hot cycle.
- Wipe the control panel using paper towel and Windex.
- Polish the stainless steel using Weiman Stainless Steel Wipes.
If you’re against using bleach in your home, here’s a great article from Architectural Digest on how to clean your dish washer with vinegar and baking soda. Of course I had to try this prior to writing about it here. I made a few tweaks to the method, such as running shorter cycles, but I can honestly say I highly recommend this method and it left the dishwasher smelling so fresh.
Best Way to Keep it Clean? Rinse everything prior to loading your dish washer. This prevents any left over food or debris from clogging your filter and causing mold and odour to build up.
Vacuum Cleaner
- Remove the vacuum from its wall holder
- Empty and clean the dirt chamber canister // Over a garbage can, release the red button to open the dirt chamber and allow the dirt and dust to fall into the garbage. Promptly dispose of this to ensure dust doesn’t escape into your home. Use a microfiber cloth to dust the inside of the canister.
- Remove & Clean the Filter // Remove the filter and rinse it with cold water. Allow it to air dry for 24 hours.
- Clean the attachments // The last and final step is to clean the attachments. Check the roller brush to ensure there is no dust or hair clogging it. If I do happen to find any gently cut it out with scissors. Wash the other two smaller attachments with warm soapy water and allow to dry for 24 hours or longer.
Best Way to Keep it Clean? Empty the dirt chamber often and wipe down the inside with a microfiber cloth. Rinse your filer once a month.
Oven
I know the oven doesn’t clean your home, but hear me out. Most ovens come with a self-clean option, and if you’ve ever used it before you know exactly how hot and smoky your house can become. Fall is a great time to clean your oven because of the weather change. Clean your oven racks the GoCleanCo way: Remove the racks from your oven and soak these in a large bathtub/sink/Rubbermaid container, lined with old towels, with 3-4 dishwasher tabs in hot water. I let these soak overnight.
Now for the rest of your oven! Ensure to follow the directions for your self-cleaning oven. Turn on the self-clean option and open a few windows for ventilation and a fresh autumn breeze. Your next step is to walk away and let it do it’s thing! While it’s self-cleaning don’t touch it – it’s going to get HOT! My oven gives me the option of how many hours I’d like it to self-clean for, I usually opt for a shorter amount of time if it doesn’t look too dirty. After the oven has completed it’s self-clean, let it cool completely. I finish the job by vacuuming out the dirt and dust that has collected at the bottom of the oven and wiping down the inside window, and the entire exterior of the oven. I finish it all off by cleaning my glass cook top with the Wieman Cooktop Cleaner Kit.
Best Way to Keep it Clean? Check the bottom of your oven after each use once it’s cooled. If any food has fallen or is stuck to the bottom, use an oven safe cleaner to wipe it away.
Range Hood
The range hood is an extension of your oven. I find that dust sticks to the outside of my own, so I wipe this down the outer part with Mr. Clean All Purpose Spray and polish with Wieman Stainless Steel Wipes. I carefully remove the vents and let these soak in my kitchen sink overnight with a dishwasher tab. In the morning I give them a good rinse and let them air dry on top of old towels on my counter.
Best Way to Keep it Clean? Dust the outer portion of your range hood frequently to prevent dust buildup.
When I look back at this post I realize this might seem overwhelming to some. Remember, there’s no rule that says you must do all of this, or that it needs to be done in a day. I’ve recently tackled all of the items on this list in under a week while juggling day to day life. If you’re lucky enough to have a housekeeper, let them know you’d like to have a few extra items cleaned before the holidays. Tell me, what are the items you plan to clean during your fall refresh? If you have any must have items, or tips and tricks, I’d love for you to leave a comment below. Looking for more fall inspiration? Check out this post on Fall Decor.
You May Also Like

The Best Kept Hydrangea Secrets
19 March 2023
How to Transition Your Wardrobe from Winter to Spring
14 April 2023